Monday 18 August 2008

Finished at last!


Its taken me a couple of weeks but today I managed to finish Chris' study off, the new carpet is laid and I even managed to move his computer into it and reconnect it all without mishap!! LOL


It is a present for our 9th wedding anniversary which was a month ago, so a bit belated, but I am sure he won't mind.


Chris is a book lover - scri-fi especially and his huge collection of books has been confined to cardboard boxes in various cupboards, wardrobes and attics since we got married. Now he has his own cosy room to sit in, play on his pc listening to music, surrounded by all his old friends who are all sorted by author no less.... I cannot count the number of times I went up and down the ladder to make sure all the Ben Bova and Wilbur Smiths and Harry Turtledoves were together!! :)

Sunday 17 August 2008

Scrapping in Saudi Arabia

Well, I have been buying up stash to keep me going while I am there but Chris managed to find a scrap shop!! How? I have no idea... but it seems it is about an hours drive away and they keep scrap stuff!! Amazed? I am!! Here is the link if you want to see what goodies await me... and though it may appear quite basic at the moment... I think after a few months this place could become a goldmine!! LOL Another bonus is that it appears my next door neighbour is a scrapper!! Yahoooo, how cool is that?

Thursday 7 August 2008

Handbag Instructions for Circle Book

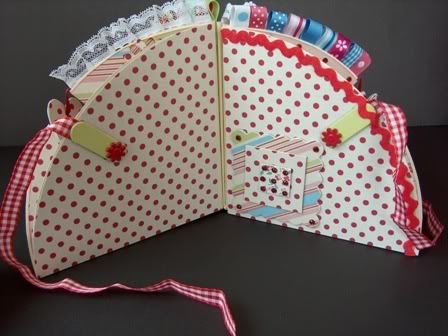
A few folk have asked if it was possible to get instructions to make the handbag that the circle albums fit into.... well, as I made the first one and didn't measure anything I have made another and hopefully worked out what I did!! LOL

Obviously all the measurement I use are based on the size of the circle book I made - and as I have no idea what size you have made yours - please adjust the measurements to suit. The BIA versions are wider than the straight forward ones. Measure your book and allow an extra 1/2" on the tallest part.
Cut 2 pieces of chipboard 6 1/2" x 6 1/2"
Cut 2 pieces of chipboard 6 1/2" x 1 1/2"
Lay your book onto the squares and draw a line at the height you require and remove that corner so that you have the shapes in the photo.
Lay the chipboard pieces onto your chosen patterned papers as shown in the photo - make sure you have one of the rectangle side pieces at the bottom and one to the side.
Cut small V's at all corner section of the chipboard so that your paper folds nicely. Use double side tape (DST) on sections of chipboard except the length marked with an X on the paper. This is the piece that you will use to attach the sides to each other!!
Cover the insides with patterned paper - either the same or a contrasting colour. Note that the triangle is still free - do not glue it down yet!
Now DST the last 2 pieces of paper inside to form the sides of your bag.

Cut a length of cardstock to make the fold over flap/closure and cut one end into a point. Cover with your patterned paper leaving a border of colour. I used DTS to adhere it to the back of the bag and then added 2 brads to make sure it stayed in place.
Cut 2 lengths of ribbon to make the handles and fasten to front and back of bag with brads. Now you can glue the triangles of patterned paper inside the bag and cover all the bits you have poked through like the legs of the brads.
I used a Basic Grey large magnet to keep the flap closed. You can now add some flowers or braid or ribbon to decorate your bag as you wish. :)
Voila!! You are finished... enjoy!!

Wednesday 6 August 2008

Decorated ATG


I got my new ATG sticky gun thing and have now given it an 'individual' look!! LOL I certainly wouldn't mistake for anyone elses' at a crop!! I have used Decopatch papers on it as they give it a good coating and then went and got my Bejeweller warmed up and blinged it to bits!! I found picking it up from the desk a bit of a pain so made it a little chipboard stand so now its ready for use at any time!!
Monday 4 August 2008

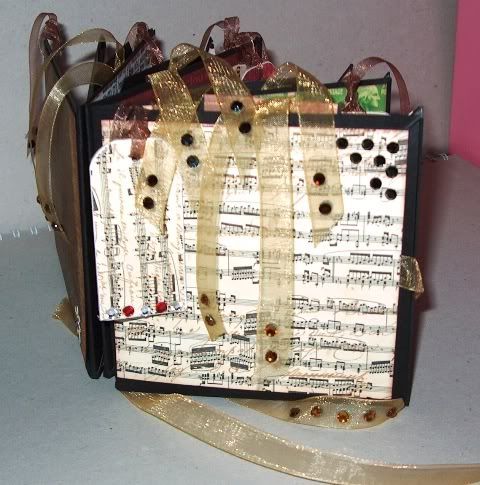
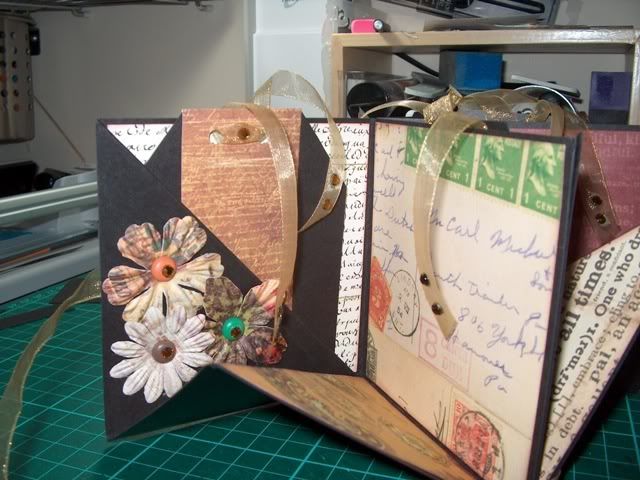
Handbag for Lib's Circle Book

Well, I was sitting here on the forum with the mini book classes in case somebody needed help with the destructions... so I thought I would make a handbag to put the Libby Circle book in... and I love it!! I even made it a little handbag charm to dangle from the strap. LOL Wonder how long it would last if I used it???? Hmmm perhaps not!

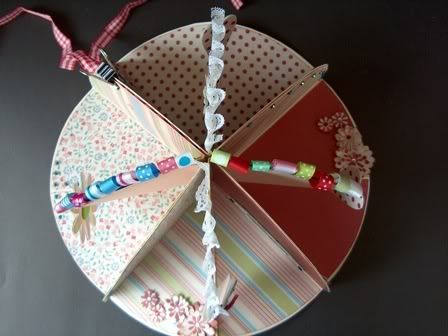
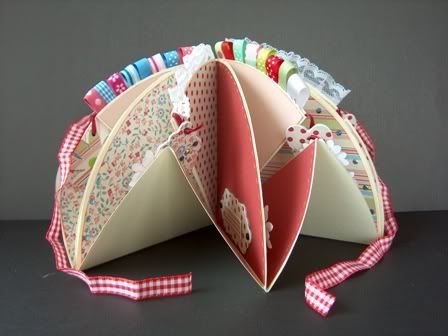
Lib's Circle Book


Instructions for making these can be found here.


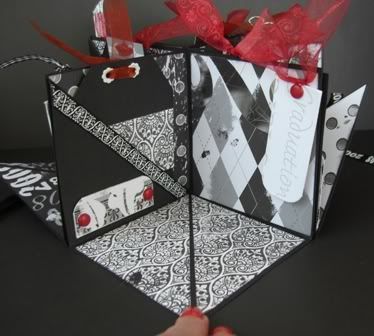
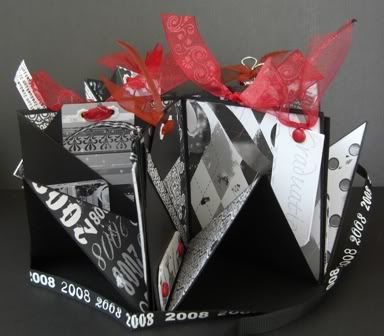
Graduation Pocket Mini Book


I made this version for a friends daughter to put her graduation photos in. Instructions can be found here.

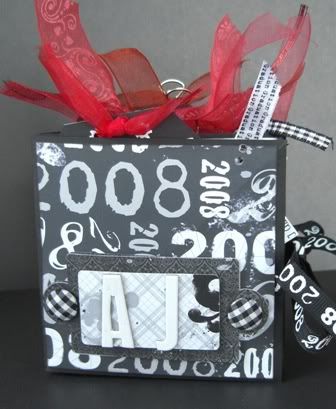
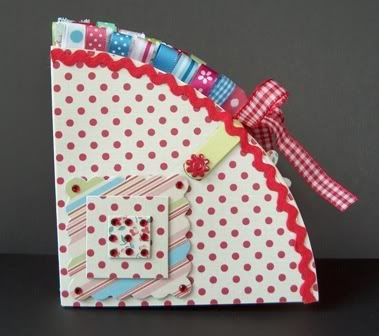
Square Pocket Mini Book

This is a square pocket mini book I made for the UKS Summer Scrap Bash and the instructions can be found here. 7Gypsies papers and rather a lot of bling from the Bejeweller! ;)


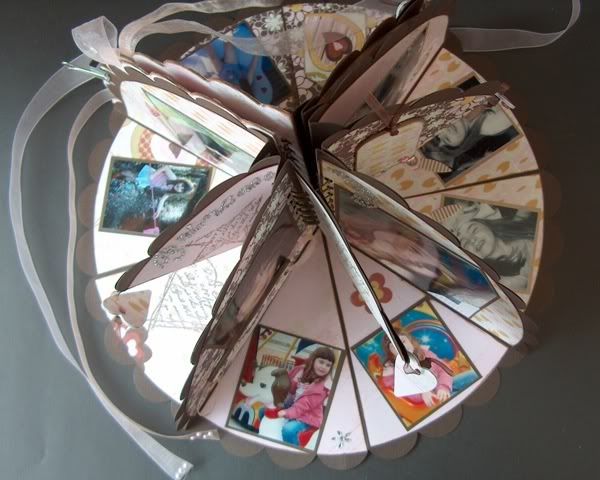
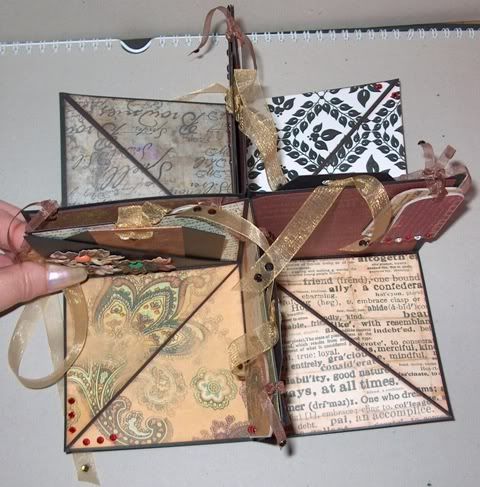
Circle Mini Book

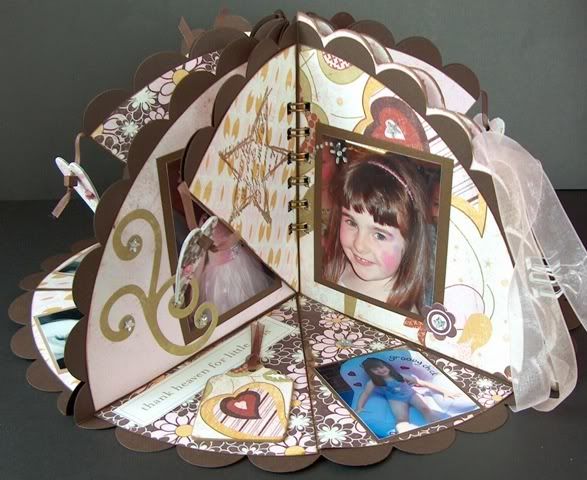
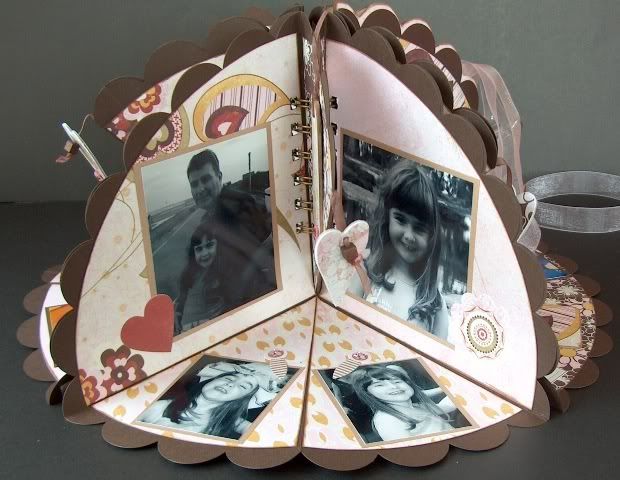
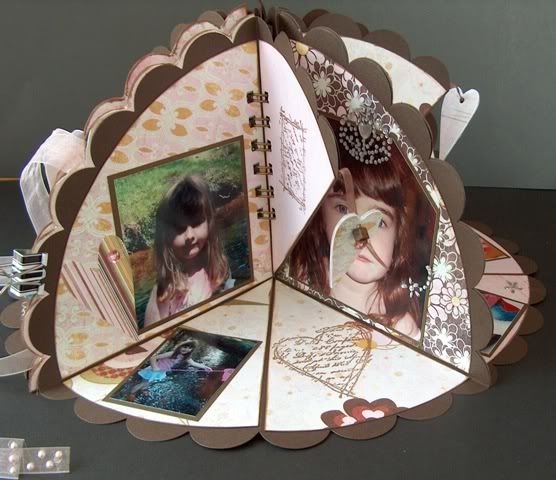
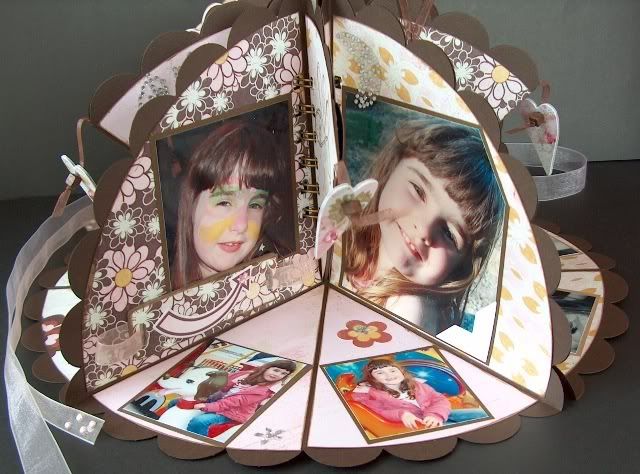
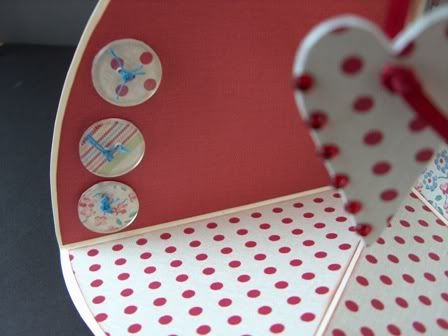
This is the circle mini book I made for the UK Scrappers Summer Scrap Bash and you can find the instructions here.


Sunday 3 August 2008

Now explain this to me...


Dh sent me some more photos of the house in Saudi and I was going through them and emailed him to say he had sent me the wrong photo, I wanted one of the downstairs cloakroom so I could match the pretty hand towels... he said he had sent it... I said no, it was of the master bedroom double sink unit, I needed the cloakroom.... he said it was the cloakroom.... its got 2 sinks! Eh? Why? Its a single toilet and this double sink unit... note drawers and cupboards? Two sinks... in the cloakroom... maybe its for the odd guests that decide to go to the loo together to practice for the Mile High Club or something? I can't think of one good reason why you would need two sinks in a cloakroom...